Hello, everyone. We have met. I’m going to repair a wall fan today. The fan hanging on the wall prevents the replacement of the motor. You need to take a tool, such as a screwdriver, an electrical tape, a pliers, and then take a smoke pipe, take the thinnest one, and then take a pair of scissors to open the tool. Bring these tools here. This needs to be repaired.
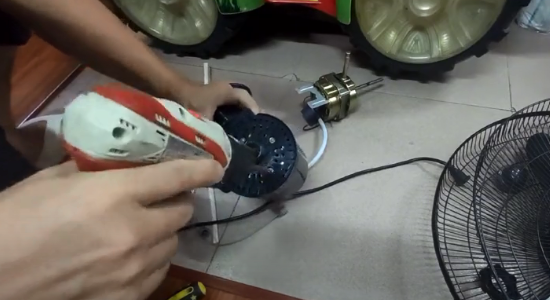
First of all, we peel off the screw of the fan cover, and then we can lift the cover. Next, we need to remove the leaf and the cover below, and then remove the cover behind. We need to remove a few screws.First, remove the hanging piece, and then remove the board below. The variable mode knife is faster. When it is removed, take the motor we want to replace. Remove the wires of the original machine. There are two lines at the end of these wires. It has a corresponding color. We can connect the corresponding color directly, and then remove one end. There are four screws on one end. The four screws are thrown away first, and then they need to be handled.The two lines removed now are the motor for shaking the head of the elevator. The shaking head elevator needs a block. It has two screws to fix it, and then there is a screw below, a total of three screws.
After it is removed, it will be installed on the new motor in its original position, and then the corresponding screw will be locked back first, and then I will do it again after it is removed. Now we have temporarily connected it. There is a screw that fixes the motor here. We first pry off the protective cover, remove the screw, and the elevator can be taken down, and then pull out the wire.Then now we put the new motor wire on the shelf first, and then put the wire in, and then put the head, this wire can flow through, then fix the head, how to remove all the screws to put it back, this is very simple, then take a cable tie, tidy up the wire on it. Then cut a few sections of this insulating tube and put it in the wire. When we finish the wiring,It’s safer to get the insulation tube down. It doesn’t matter whether you do it or not. But it’s safer for me to do it this way. Then we connect the corresponding color line, for example, white, to the white line.
The black one will be connected to the black one, and its color is corresponding. Then put the tube back, and the blue one will be pasted on the blue one. Please have the screen. These are all very simple. Just look at the operation. After that, I will use this electrical tape to fix it, so that it will not run around. After this step is done, I can basically seal the back cover.The four screws on the nose here, we put them on first, fix them first, and then come back to the back cover, that is, install the back net, and return the front net in the middle of the night, and then we will fix it now. I will see you next time. If you like it, you can collect it. Bye-bye.